
The Smartest Way to Add Covered Space: What You Need to Know About a Metal Roof Lean To
A metal roof lean to is one of the most practical and cost-effective ways to add covered space to your home — whether you need shelter for a vehicle, a workspace, or extra storage. If you’re in Martinsburg, WV or the surrounding area, it’s also one of the best defenses against the region’s unpredictable weather.
Here’s a quick overview of what a metal roof lean-to involves:
| Factor | Details |
|---|---|
| What it is | A single-slope roof attached to an existing wall or building |
| Common uses | Vehicle shelter, storage, workshop, covered patio |
| Minimum roof pitch | 1:12 (absolute minimum); 3:12 recommended |
| Typical lifespan | 40–70 years depending on metal type |
| Installed cost | Roughly $6–$15 per square foot |
| DIY friendly? | Yes, for simple wood-frame attachments under 12 feet wide |
When planning any kind of home addition like this, working with trusted exterior home improvement contractors ensures your structure is built to last — and built to code.
This guide walks you through everything: what a metal lean-to is, how to plan it, how to install it step by step, and how to avoid the mistakes that lead to leaks and costly repairs down the road.
Whether you’re a confident DIYer or still on the fence about calling a pro, you’ll have a clear picture by the end.
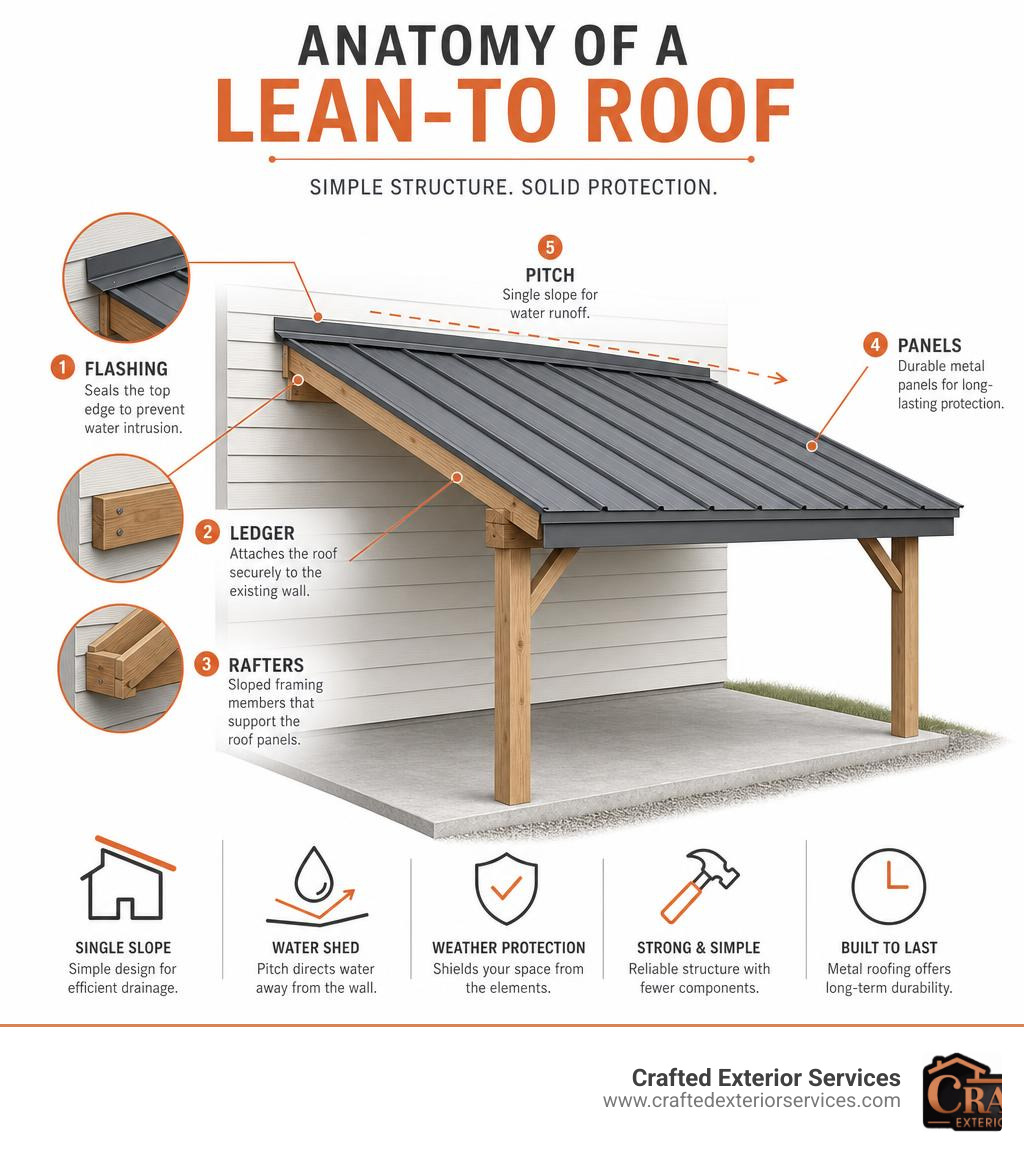
What is a Metal Roof Lean To and Why Add One?
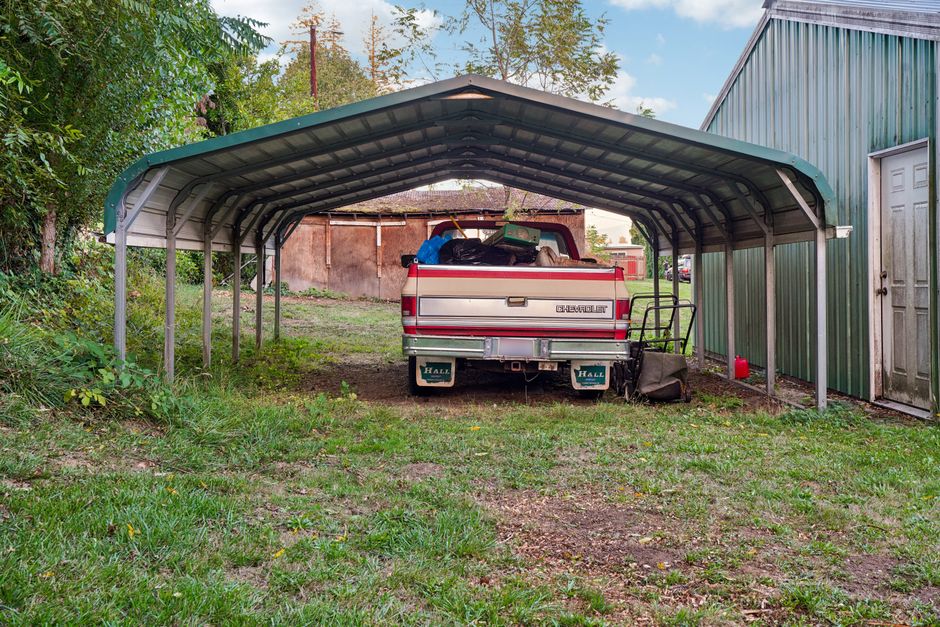
A metal roof lean to is a single-slope roof structure that can function either as a freestanding shelter or as an extension attached directly to an existing wall. Unlike freestanding, double-sloped gable buildings, an attached lean-to relies on your primary structure for structural support on its high side. This shared-support design means you need fewer rafters, posts, and framing materials, making it a highly cost-effective option.
Adding a metal lean-to to your property offers several key advantages:
- Maximizing Usable Space: It converts underutilized side-yards or areas adjacent to garages and barns into functional, covered zones. It is commonly used for storing firewood, sheltering lawn equipment, or parking vehicles.
- Weather Protection: In our Four-State region—covering Martinsburg, WV, Bunker Hill, WV, and Hagerstown, MD—we experience everything from heavy summer downpours to freezing winter snow. A durable lean-to keeps your assets dry and out of the elements.
- Incredible Durability: When you compare roofing materials, metal far outlasts the alternatives. While traditional shingles may require replacement after 15 to 30 years, a properly installed metal roof easily lasts 50 to 70 years. You can read more about these differences in our detailed breakdown of asphalt shingles vs metal roofs.
For those looking for premium performance, the Metal Construction Association highlights that high-quality metal panels offer superior wind uplift resistance and shed heavy snow loads far more efficiently than textured roofing alternatives. Whether you are looking at a smaller backyard shed addition or planning a larger metal lean-to carport installation in Maryland, choosing metal is an investment that pays off over decades.
Planning and Design: Pitch, Dimensions, and Codes
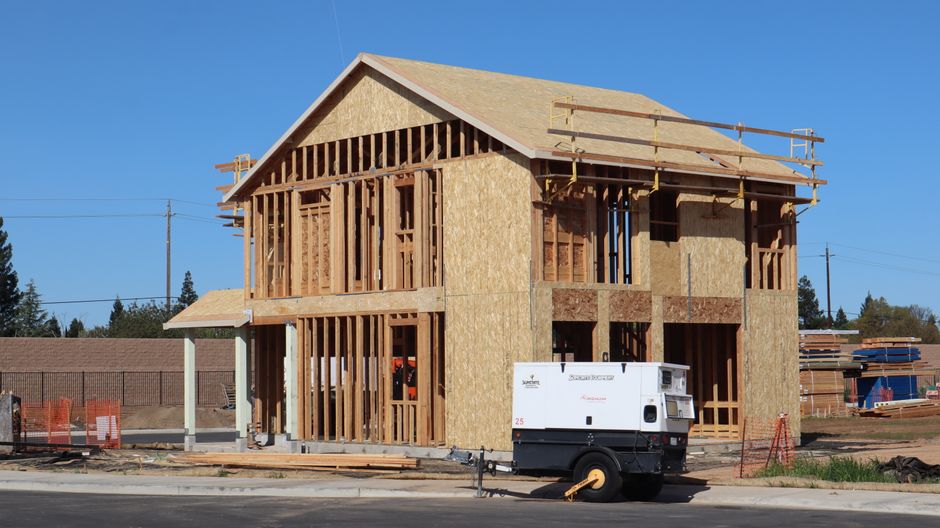
Before you purchase any lumber or metal panels, you must map out your design. Proper planning prevents structural sagging, local code violations, and costly water damage.
- Rafter Spacing: For most residential lean-to projects in West Virginia and Maryland, rafters should be spaced 16 to 24 inches apart. If you live in an area prone to heavier snow loads, sticking to a tight 16-inch on-center spacing is highly recommended.
- Post Spacing: Support posts (typically pressure-treated 4×4 or 6×6 timbers) are standardly spaced every 12 feet, though 10-foot or 14-foot spans are also common depending on your load calculations.
- Wind Uplift and Snow Loads: Because a lean-to is open on at least one side, wind can get underneath the roof and create a lifting force. You must use structural connectors, such as hurricane ties, to secure rafters to your ledger board and support beam.
- Zoning and Permits: Never skip checking with your local building authority. Whether you are building in Martinsburg, WV, or sourcing materials from suppliers like Wagler Steel in Hagerstown, MD, you must comply with local wind and snow load regulations. If you are constructing a larger agricultural or commercial-scale lean-to, consulting engineered plans like those used for metal buildings in Clarksburg, WV will keep your project compliant with the International Code Council guidelines.
Determining the Minimum Pitch for a Metal Roof Lean To
The absolute minimum pitch for a metal roof lean-to is 1:12, which represents a 1-inch drop for every 12 inches of horizontal run. However, this absolute minimum only applies to specific standing seam profiles with double-locked mechanical seams. For standard corrugated or R-panel metal roofing, a minimum pitch of 3:12 (a 3-inch drop per foot) is highly recommended to ensure reliable water drainage and prevent pooling.
Why does the slope matter so much?
- Water Runoff: Low-slope roofs slow down water flow. If the pitch is too shallow, heavy rains can back up under the panel overlaps, causing major leaks.
- Debris and Snow Shedding: In our local climate, autumn leaves and winter snow can quickly pile up. A steeper slope (such as 3:12 or 4:12) allows snow to slide off safely rather than overloading your framing.
- Panel Longevity: Standing water accelerates the breakdown of protective coatings on steel, leading to premature rust. If your layout forces you into a lower slope, you should upgrade to standing seam metal roofing, which features raised, interlocking seams that keep water out without relying on exposed screws.
Step-by-Step Guide to Installing a Metal Roof on a Lean-To
If you have basic carpentry skills, installing a metal roof lean to is a highly rewarding weekend project. For a comprehensive look at the structural framing phase, you can refer to this classic guide on how to build a lean-to shed roof. Below is our step-by-step sequence optimized for metal panel installation.
Preparing the Structure for Your Metal Roof Lean To
To build a watertight, solid structure, follow this sequence:
- Install the Ledger Board: Secure a pressure-treated ledger board (typically a 2×8 or 2×10) directly to the studs of your existing building. Use 1/2-inch by 4-inch galvanized lag bolts spaced every 16 inches. Ensure it is perfectly level.
- Set the Posts and Header Beam: Dig post holes below the local frost line (typically 30 to 36 inches in West Virginia), pour concrete footings, and set your support posts. Cut them to height to establish your desired pitch, then secure your header beam across the top.
- Install Rafters and Purling: Hang your rafters between the ledger and the header beam using metal joist hangers. Next, install 1×4 wood purlins (also called strapping) horizontally across the rafters, spacing them 12 to 18 inches apart.
- Lay the Underlayment: Roll out a high-quality synthetic underlayment or a self-adhering ice-and-water shield over the purlins. Overlap horizontal seams by at least 4 to 6 inches to create a secondary moisture barrier.
- Attach the Drip Edge: Install a metal drip edge along the bottom eave and rakes. Secure it with roofing nails spaced every 16 inches. The drip edge should sit beneath your underlayment at the eave to divert water directly into your gutters.
If your project involves tying into a complex existing residential roofline, it is often safest to consult professional roofing services in Martinsburg, WV to prevent structural overloading or voiding your home’s current roof warranty.
Flashing and Sealing the Connection to Prevent Leaks
The number-one spot where a lean-to roof fails is the transition point where it joins the existing building. If water running down your home’s wall gets behind the ledger board, it will rot your framing and cause interior leaks.
To waterproof this connection properly, follow these critical steps:
- Expose the Wall Framing: If your existing building has vinyl siding, remove the siding panels at least 12 inches above the connection point. For shingle roofs, you will need to tuck your flashing under the existing courses of shingles.
- Install the L-Flashing: Position a custom-bent metal apron flashing (L-flashing) over the joint. The vertical leg of the flashing must extend at least 6 inches up the wall of the existing building, while the horizontal leg should extend at least 6 to 8 inches down over your new metal roofing panels.
- Apply Sealant and Butyl Tape: Run a continuous double bead of high-grade butyl tape or polyurethane sealant along the underside of the horizontal flashing leg where it contacts the metal panels. This prevents wind-driven rain from blowing upward under the flashing.
- Handle Masonry Walls (Reglet Cuts): If you are attaching your lean-to to a brick or stucco wall, standard flashing won’t suffice. You must cut a shallow groove (a reglet) into the mortar joint with an angle grinder. Insert the bent top edge of your counter-flashing into this groove, secure it with masonry anchors, and seal the joint with a high-durability polyurethane sealant.
- Install Foam Closure Strips: Before fastening the flashing down, insert foam closure strips that match the profile of your metal panels. These strips fill the gaps created by the panel ribs, keeping out wind, rain, insects, and nesting birds.
For a deeper dive into weatherproofing techniques for metal-on-metal connections, check out this guide on how to flash a lean-to on a metal building. You can also find professional flashing techniques and material advice on Fine Homebuilding.
Cost Analysis and Material Comparisons
When budgeting for a metal roof lean to, your material choice will play the largest role in determining both the upfront cost and the long-term lifespan of your structure.
| Material | Average Cost (Per Sq. Ft.) | Expected Lifespan | DIY Difficulty | Best Suited For |
|---|---|---|---|---|
| Steel (Galvalume/Galvanized) | $2.50 – $5.50 | 30 – 50 Years | Moderate | Budget-friendly carports, sheds, and barns |
| Aluminum | $4.00 – $7.00 | 30 – 50 Years | Easy (Lightweight) | Coastal areas or high-humidity environments |
| Zinc | $6.00 – $12.00 | 80 – 100 Years | High (Requires specialist) | Premium architectural homes and additions |
| Copper | $12.00 – $20.00 | 100 – 200 Years | Very High | Historic renovations and luxury accents |
While basic asphalt shingles may seem cheaper upfront, they require regular maintenance and replacement every couple of decades. Steel and aluminum offer the best balance of affordability, strength, and ease of installation for DIYers.
To view different metal panel profiles and color options that can match your existing home, explore our main metal roofing options. For additional independent advice on budgeting and material selection, check out the resources provided by the Metal Roofing Alliance.
Frequently Asked Questions about Metal Lean-To Roofs
How long will a metal roof last on a lean-to shed?
A properly installed metal roof on a lean-to shed will last between 40 to 70 years, depending on the material (steel vs. aluminum) and local climate conditions. This lifespan far exceeds that of traditional roofing materials, making it a highly durable long-term investment.
To ensure your roof reaches this impressive lifespan, practice these simple maintenance habits:
- Annual Cleaning: Wash off dirt, pollen, and leaves using a mild soap and water. Avoid abrasive cleaners or pressure washers, which can damage the protective finish.
- Clear Debris: Regularly sweep away pine needles and leaves from the valleys and the wall connection.
- Inspect Fasteners: Over time, thermal expansion can cause screws to back out slightly. Check your roof once a year to ensure all neoprene washers are snug and in good condition.
Can I install a metal roof directly over old shingles?
Yes, you can install a metal roof over old shingles, provided local building codes allow it and the existing roof structure is free of rot.
If you choose this route, you must follow these best practices:
- Inspect the Decking: Make sure there is no underlying water damage or soft wood. If the decking is compromised, you must perform a full tear-off.
- Use Furring Strips: Fasten 1×4 wood battens (furring strips) horizontally over the old shingles, securing them into the rafters. This creates a flat plane for your metal panels and leaves a ventilation gap that prevents moisture buildup.
- Lay New Underlayment: Install a layer of synthetic underlayment over the furring strips before laying your metal panels.
For a thorough evaluation of your current roof’s structural integrity before retrofitting, reach out to our roofing experts.
What are the most common mistakes to avoid during installation?
Even experienced DIYers can run into trouble if they overlook the unique characteristics of metal roofing. Keep an eye out for these critical errors:
- Over-tightening Screws: This is the most common mistake. When you drive self-tapping screws, tighten them until the neoprene washer is snug and flush. If you over-tighten, the washer will split, cup upward, and create a direct path for water leaks.
- Skipping Underlayment: Some assume a metal roof doesn’t need underlayment if it is installed over purlins. Skipping underlayment leads to condensation dripping onto your framing, which eventually causes wood rot.
- Poor Flashing at the Wall: Relying solely on caulk or silicone to seal the wall connection is a recipe for failure. Caulk will crack within a few seasons of temperature swings. You must use mechanical metal flashing tucked under your siding.
- Misaligning the First Panel: If your first metal panel is slightly crooked, the misalignment will multiply with every subsequent panel. Always snap a chalk line and double-check that your starter panel is perfectly square to your eave.
Conclusion
Building a metal roof lean to is one of the smartest upgrades you can make to your property. It provides reliable, long-lasting protection for your vehicles, equipment, or outdoor living spaces without the high cost of constructing a full standalone building. However, achieving a leak-free, wind-resistant finish requires careful planning, proper pitch selection, and meticulous flashing at the wall connection.
If the framing, high-wall flashing, or local permit process feels a bit overwhelming, we are here to help. Crafted Exterior Services is a locally owned, non-franchise team based in Martinsburg, WV. We offer manufacturer-approved products, full insurance coverage, and zero-down financing options to make your project stress-free.
Explore our premium standing seam metal roofing solutions to find the perfect style for your home, or reach out to our team online to discuss your project.